Culinary Advisor
A cooking platform built around craft, culture, and the stories behind what we eat.
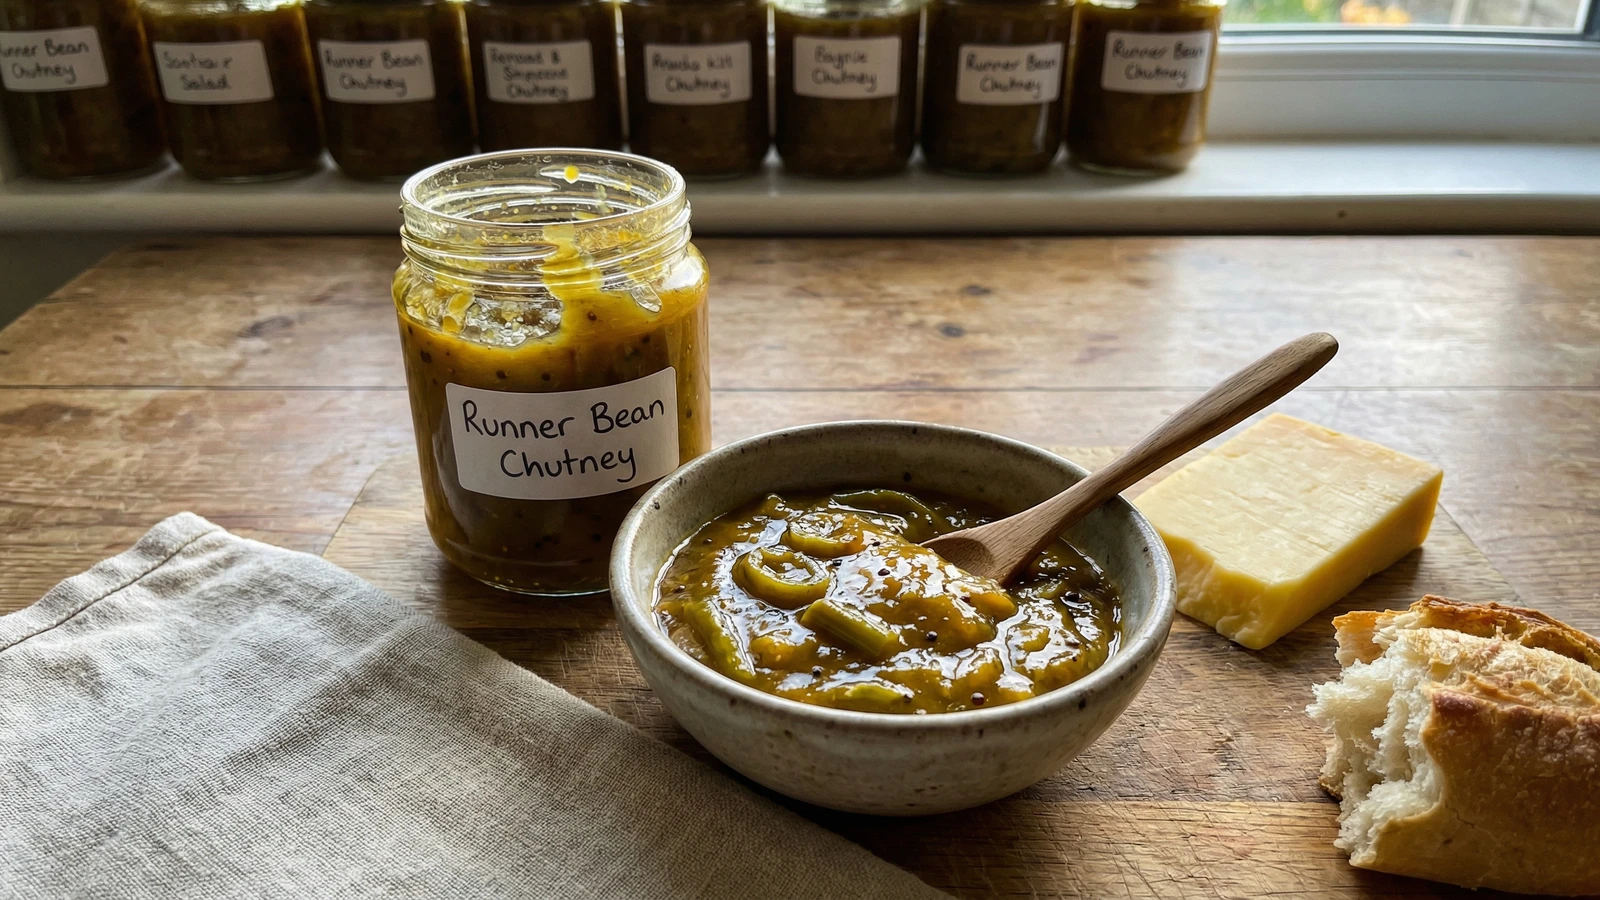
Runner Bean Chutney
Created by Chef Thomas
A golden chutney made when the runner beans won't stop coming, slow-cooked with onions, vinegar, and warm spice, then jarred for the cold months when summer feels a long way off.
There comes a week in September when you walk down to the bottom of the garden and realise the runner beans have won. The pods you missed last week have turned tough and stringy. The ones you didn't miss are piled in a colander on the kitchen counter, more than any household could reasonably eat, and there are still more out there, hidden behind the leaves, lengthening by the hour. This is when chutney happens.
Runner bean chutney is the allotment solution. It's what you make when generosity has tipped over into glut and the freezer is already full. The beans get sliced thin, cooked down with onions and vinegar and a good handful of warm spices, and the whole thing turns a deep mustard-gold that looks like the late summer sun caught in a jar. The kitchen smells sharp and complicated for an hour or two. Then it smells like preserving day. Then it smells like winter, somehow, even though winter is months away.
The trick with chutney is patience. Not in the cooking, which is straightforward, but in the waiting afterward. A fresh jar tastes loud and one-note. A jar that's sat in a dark cupboard for six weeks tastes like something you'd want on a plate with cold ham and a bit of cheddar and a piece of bread. It's the same chutney. Time does the rest.
I wrote it down in the notebook once: "Beans. Vinegar. September. Wait." Some recipes don't need more than that.
The technique, the tradition, and the story behind every dish.
Discover Culinary AdvisorIngredients
runner beans
Quantity
1kg
stringed and sliced on the diagonal into thin pieces
onions
Quantity
500g
peeled and finely chopped
cider vinegar
Quantity
600ml
soft light brown sugar
Quantity
400g
English mustard powder
Quantity
2 tablespoons
ground turmeric
Quantity
1 tablespoon
coriander seeds
Quantity
1 teaspoon
lightly crushed
yellow mustard seeds
Quantity
1 teaspoon
fine sea salt
Quantity
2 teaspoons
cornflour
Quantity
2 tablespoons
extra cider vinegar
Quantity
a small splash
for slaking the cornflour
| Ingredient | Quantity |
|---|---|
| runner beansstringed and sliced on the diagonal into thin pieces | 1kg |
| onionspeeled and finely chopped | 500g |
| cider vinegar | 600ml |
| soft light brown sugar | 400g |
| English mustard powder | 2 tablespoons |
| ground turmeric | 1 tablespoon |
| coriander seedslightly crushed | 1 teaspoon |
| yellow mustard seeds | 1 teaspoon |
| fine sea salt | 2 teaspoons |
| cornflour | 2 tablespoons |
| extra cider vinegarfor slaking the cornflour | a small splash |
Equipment Needed
- •Large heavy-bottomed preserving pan or stockpot
- •Wooden or metal spoon (turmeric will stain wood)
- •5 medium jars with vinegar-proof lids
- •Funnel for filling jars (helpful but not essential)
- •Labels and a pen
Instructions
- 1
Prepare the beans
Top and tail the runner beans, then run a small knife or a peeler down each side to take off the strings. The strings matter. Skip them and the chutney will have little fibres running through it that catch in your teeth six weeks from now and remind you that you cut a corner. Slice the beans thinly on the diagonal. Not delicate ribbons, just thin enough that they soften properly. This is the slow part of the job. Put a radio on.
If your beans are big and tough, the kind that have hidden in the foliage for too long, they'll need stringing on both edges and slightly thinner slicing. Young beans are more forgiving. - 2
Soften the onions
Tip the chopped onions into a large heavy-bottomed pan with about a third of the vinegar. Bring to a gentle simmer and cook for ten minutes, stirring now and then, until the onions are soft and translucent and the kitchen has started to smell sharp and a bit eye-watering. Open a window if you need to. This is the smell of preserving season.
- 3
Add the beans and spices
Add the sliced beans, the rest of the vinegar, the sugar, salt, turmeric, mustard powder, mustard seeds, and crushed coriander. Stir it all through. The pan will look alarming for a moment, raw beans bobbing in a yellow sea, but it settles. Bring it back to a simmer.
Turmeric stains everything it touches. Wooden spoons, your apron, the grout between the tiles. Use a metal spoon if you mind, and wipe up spills before they have a chance to settle. - 4
Cook it down
Let the chutney bubble away gently, uncovered, for around forty-five minutes. Stir it every so often, especially toward the end when it starts to catch if you forget about it. You're waiting for the beans to go tender and the liquid to reduce by about a third. Trust your nose. When the raw vinegar smell has softened into something warmer and more rounded, almost mellow, you're nearly there.
- 5
Thicken with cornflour
Slake the cornflour with a small splash of cold vinegar in a cup, mixing until smooth with no lumps. Stir it through the chutney and let it bubble for another two or three minutes. The chutney should thicken to a glossy, spoonable consistency, the kind that holds a furrow for a second when you drag a spoon across the bottom of the pan. Not too thick. It firms up further in the jar.
Taste a little on a teaspoon. It will taste raw and aggressive at this stage, all vinegar and spice. Don't panic. Chutney needs time in the jar to find itself. - 6
Jar it up
Have your jars sterilised and still warm from the oven. Spoon the hot chutney in, right to the top, leaving only a small gap. Tap each jar on the counter to settle out any air pockets. Seal with vinegar-proof lids while everything is still hot. Label them with the date. You'll thank yourself in November when you can't remember which batch is which.
- 7
Wait
Put the jars somewhere cool and dark and forget about them for at least a month. Six weeks is better. The harshness drops away, the spices settle, and the whole thing turns from a loud, brash condiment into something quietly excellent. This is the hardest instruction in the whole recipe. Hide them if you have to.
Chef Tips
- •Use cider vinegar if you can. Malt vinegar works and it's traditional, but it has a darker, more aggressive flavour that overwhelms the beans. Cider vinegar is gentler and lets the spice come through.
- •Sterilise jars properly. Wash them in hot soapy water, rinse, then put them upright on a baking tray in a 140C oven for fifteen minutes. Take them out just before you fill them. Cold jars and hot chutney is a recipe for cracked glass and a wasted afternoon.
- •This chutney belongs with cheese. A piece of mature cheddar, a slice of cold ham, a wedge of pork pie, a Boxing Day sandwich made from leftover everything. It's also quietly brilliant stirred into a cheese sauce or spooned over a sausage in a bun.
- •If the beans you have are the older, tougher sort that the gardener missed, blanch the slices in boiling salted water for two minutes before adding them to the pan. It softens them just enough.
Advance Preparation
- •The chutney needs at least four weeks in a cool, dark cupboard before opening, and is genuinely better at six to eight weeks. The flavours need time to mellow and marry.
- •Sealed jars keep for up to a year in a cool, dark place. Once opened, refrigerate and use within a month, though it rarely lasts that long.
- •Sterilise the jars on the morning of cooking and have them warm and ready when the chutney is done. Hot chutney into hot jars, sealed straight away, gives the best storage life.
Frequently Asked Questions
Nutrition Information
1 serving (about 20g)
Where cooking meets culture.
Culinary mentorship, cultural storytelling, and the editorial depth that makes cooking meaningful.
Explore Culinary Advisor