Culinary Advisor
A cooking platform built around craft, culture, and the stories behind what we eat.
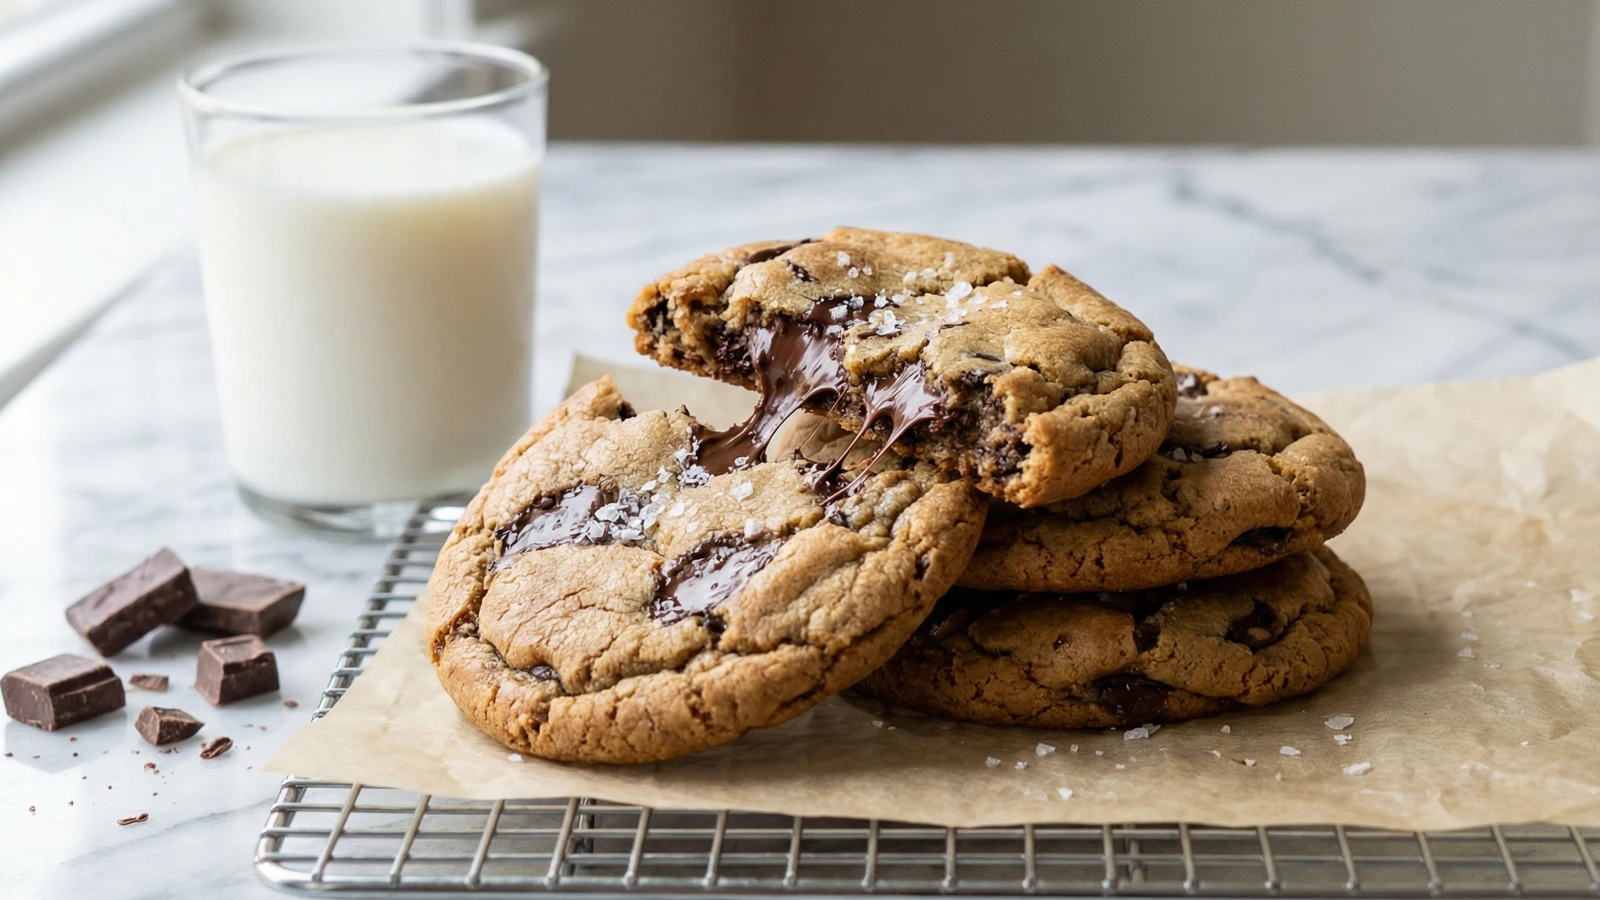
NY Times Chocolate Chip Cookies
Created by
The cookie recipe that changed everything. A 36-hour rest transforms ordinary dough into something extraordinary: crackled tops, toffee notes, and a chew that haunts your memory long after the last crumb disappears.
In 2008, David Leite wrote a story for the New York Times about the science of chocolate chip cookies. He interviewed pastry chefs across New York, including Jacques Torres, the French chocolatier who had been quietly perfecting his version for years. The resulting recipe crashed the Times website. Bakers across America discovered what professionals had known for decades: patience produces miracles.
The innovation is almost embarrassingly simple. Rest the dough. Not for an hour. Not overnight. Thirty-six hours minimum, seventy-two if you can manage the wait. During this time, the flour fully hydrates. Proteins relax. Sugars concentrate. The dough transforms from something ordinary into something with depth, complexity, and that elusive butterscotch quality you've tasted in great bakeries but never achieved at home.
The other secrets matter too. Two flours, bread and cake, create a texture both chewy and tender. Dark brown sugar contributes moisture and molasses depth. Discs of good chocolate, chopped by hand so you get both chunks and shards, distribute unevenly through the dough. Some bites are pure cookie. Others are mostly chocolate. This is intentional. Uniformity is for factory products.
I've made these cookies hundreds of times since that article appeared. The method works. Trust it. Your kitchen will smell like a reason to stay home.
The technique, the tradition, and the story behind every dish.
Discover Culinary AdvisorIngredients
cake flour
Quantity
2 cups minus 2 tablespoons (8 1/2 ounces)
bread flour
Quantity
1 2/3 cups (8 1/2 ounces)
baking soda
Quantity
1 1/4 teaspoons
baking powder
Quantity
1 1/2 teaspoons
coarse salt
Quantity
1 1/2 teaspoons
unsalted butter, at room temperature
Quantity
2 1/2 sticks (1 1/4 cups)
light brown sugar
Quantity
1 1/4 cups (10 ounces)
granulated sugar
Quantity
1 cup plus 2 tablespoons (8 ounces)
large eggs
Quantity
2
pure vanilla extract
Quantity
2 teaspoons
bittersweet chocolate discs or chunks
Quantity
1 1/4 pounds
flaky sea salt
Quantity
for finishing
| Ingredient | Quantity |
|---|---|
| cake flour | 2 cups minus 2 tablespoons (8 1/2 ounces) |
| bread flour | 1 2/3 cups (8 1/2 ounces) |
| baking soda | 1 1/4 teaspoons |
| baking powder | 1 1/2 teaspoons |
| coarse salt | 1 1/2 teaspoons |
| unsalted butter, at room temperature | 2 1/2 sticks (1 1/4 cups) |
| light brown sugar | 1 1/4 cups (10 ounces) |
| granulated sugar | 1 cup plus 2 tablespoons (8 ounces) |
| large eggs | 2 |
| pure vanilla extract | 2 teaspoons |
| bittersweet chocolate discs or chunks | 1 1/4 pounds |
| flaky sea salt | for finishing |
Equipment Needed
- •Stand mixer with paddle attachment
- •Half-sheet baking pans
- •Parchment paper or silicone baking mats
- •Large cookie scoop or ice cream scoop (about 3 tablespoons)
- •Wire cooling rack
Instructions
- 1
Combine dry ingredients
Sift the cake flour, bread flour, baking soda, baking powder, and salt into a large bowl. Set aside. Sifting matters here. These two flours behave differently, and sifting ensures they blend evenly. You're building the architecture of your cookie.
Weigh your flours if possible. Cup measurements vary wildly depending on how you scoop. The weight matters more than the volume. - 2
Cream butter and sugars
Using a stand mixer fitted with the paddle attachment, cream the butter and both sugars together on medium speed until very light and fluffy, about 5 minutes. The mixture should look almost white and have increased noticeably in volume. This aeration creates the cookie's structure. Don't rush it.
Soft butter means soft. Press your finger into it and it should yield without resistance. Cold butter won't cream properly. Melted butter creates a different cookie entirely. - 3
Add eggs and vanilla
Add the eggs one at a time, mixing on low speed after each addition until just incorporated. Add the vanilla with the second egg. Scrape down the sides of the bowl with a rubber spatula. The mixture may look slightly curdled. This is fine. It will come together.
- 4
Incorporate dry ingredients
Reduce the mixer to its lowest speed and add the flour mixture in three additions, mixing just until each addition disappears. Stop the moment you no longer see streaks of flour. Overmixing develops gluten, which makes cookies tough rather than tender. Your dough should look shaggy and slightly loose.
- 5
Fold in chocolate
Add the chocolate chunks and fold them through the dough using a wooden spoon or rubber spatula. Distribute them as evenly as patience allows, but don't overwork the dough. Some areas will have more chocolate than others. This is a feature, not a flaw.
Chop chocolate by hand rather than using chips. You want irregular pieces: large chunks, medium bits, and fine shards. The variety creates different textures throughout each cookie. - 6
Rest the dough
Press plastic wrap directly against the surface of the dough to prevent a skin from forming. Refrigerate for a minimum of 36 hours and up to 72 hours. This is the step that separates good cookies from legendary ones. The dough will firm considerably. The color will deepen slightly. Resist the temptation to skip ahead. Time is an ingredient here.
The 36-hour rest allows the flour to fully hydrate while the sugars concentrate, developing complex caramel and toffee notes that fresh dough simply cannot achieve. - 7
Portion the dough
When ready to bake, preheat your oven to 350 degrees. Line baking sheets with parchment paper or silicone mats. Scoop dough into balls slightly smaller than a golf ball, roughly 3 1/2 ounces each. These are substantial cookies. Place them at least 3 inches apart on your prepared sheets. They spread.
- 8
Bake the cookies
Bake one sheet at a time on the center rack for 18 to 20 minutes, rotating the sheet halfway through. The cookies are done when they're golden brown around the edges but still pale and slightly underdone in the center. They'll look almost too soft. Trust your oven. They firm as they cool.
Every oven lies. Use visual cues over timers. The edges should be set and golden, the centers should look barely baked, and the tops should show the signature crackled surface. - 9
Finish with sea salt
Remove from oven and immediately sprinkle each cookie with a few flakes of sea salt while still warm. The salt will adhere to the surface and provide a crucial contrast to the sweetness. Let cookies cool on the baking sheet for 10 minutes before transferring to a wire rack. The centers will set as they rest.
Chef Tips
- •The chocolate matters enormously. Valrhona, Guittard, or Callebaut all produce excellent results. Avoid chocolate chips: they're engineered to hold their shape, which means they don't melt into those glorious pools and puddles.
- •Bake only what you need. Portioned dough balls freeze beautifully for up to three months. Bake directly from frozen, adding 2 to 3 minutes to the time. Fresh-baked cookies whenever you want them.
- •If you must bake before 36 hours, overnight rest still improves the cookies noticeably. But if you can wait the full time, wait. The difference is profound.
- •These cookies are best eaten within two days of baking. After that, the edges lose their crispness and the texture homogenizes. Which is why you freeze the dough, not the baked cookies.
Advance Preparation
- •Dough must rest refrigerated for 36 to 72 hours before baking. Plan accordingly.
- •Portioned dough balls can be frozen on a sheet pan, then transferred to freezer bags. Store frozen up to 3 months. Bake directly from frozen at 350°F for 20 to 22 minutes.
- •Baked cookies keep at room temperature in an airtight container for 2 days. Beyond that, texture suffers.
Frequently Asked Questions
Nutrition Information
1 serving (about 57g)
Where cooking meets culture.
Culinary mentorship, cultural storytelling, and the editorial depth that makes cooking meaningful.
Explore Culinary Advisor