Culinary Advisor
A cooking platform built around craft, culture, and the stories behind what we eat.
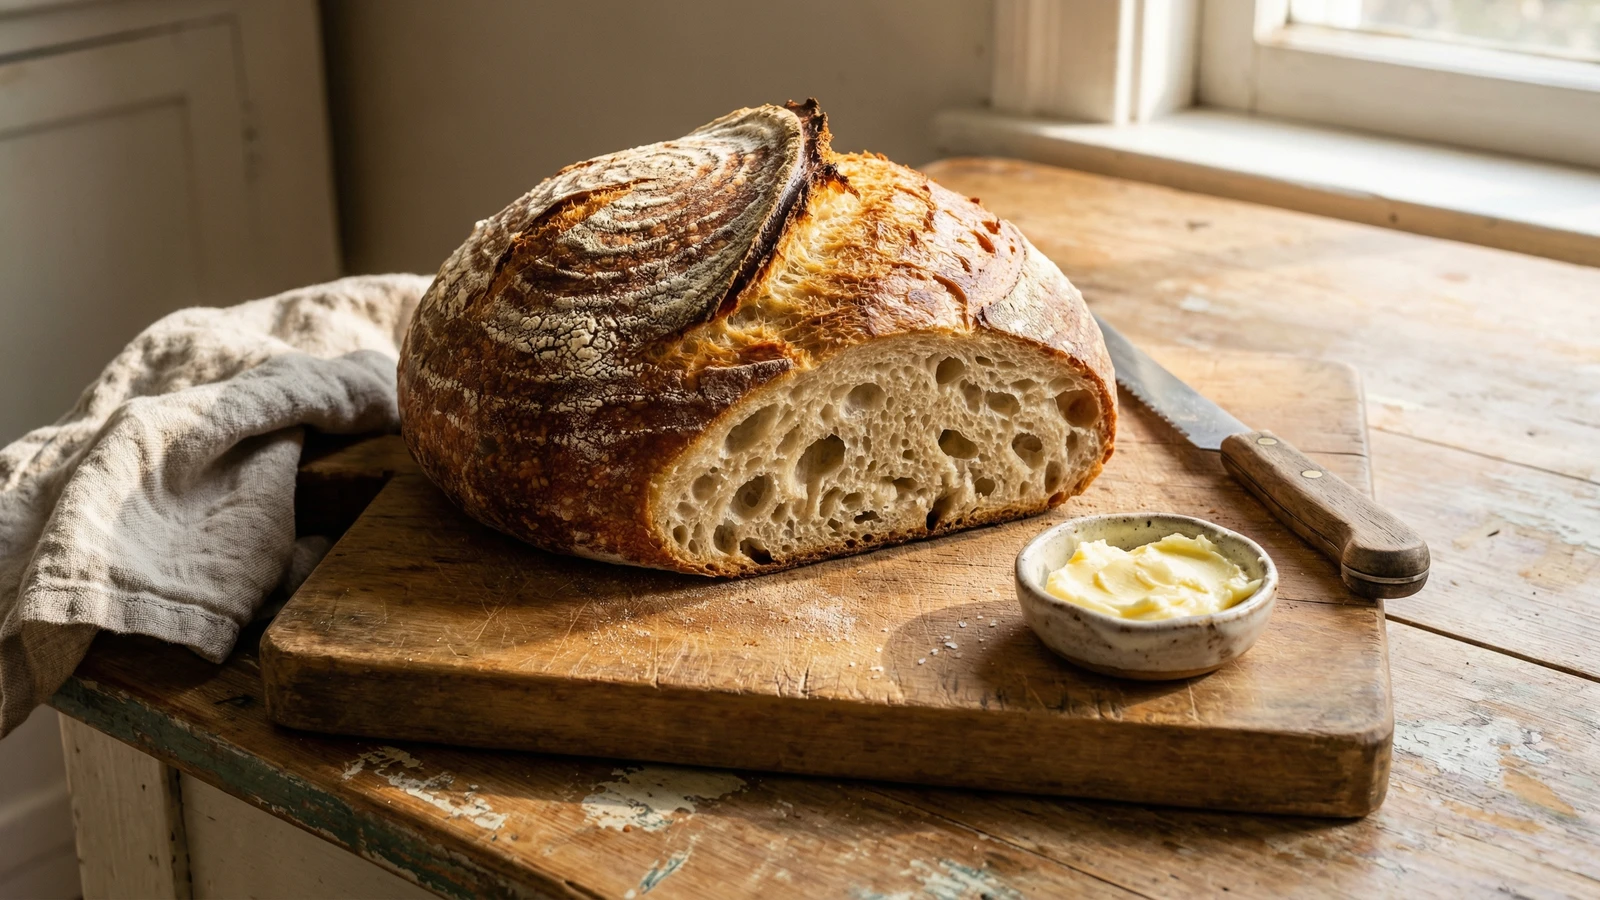
No-Knead Overnight White Bread
Created by Chef Ally
Four ingredients, no kneading, no special skill. Just flour, water, salt, yeast, and the overnight hours that transform a shaggy dough into a crackling, golden loaf with an open crumb and honest crust.
Good bread requires almost nothing from you. Flour. Water. Salt. A whisper of yeast. What it asks for is time, and time is something we can give.
This loaf changed how a generation thinks about bread. The technique came from Jim Lahey in 2006, and it proved what bakers have known for centuries: slow fermentation builds flavor and structure that no amount of kneading can replicate. The long rest lets enzymes break down starches, lets gluten develop on its own terms, lets the dough become something alive.
Start with the flour. If you can find stone-ground bread flour from a mill you trust, the difference will announce itself in the aroma, the color, and the taste. Commodity flour works, but flour with a story tastes like it came from somewhere. The rest is patience. Mix the dough before bed, shape it in the morning, bake it before lunch. The Dutch oven does what professional steam-injected ovens do: it traps moisture and creates that shattering crust.
This is bread meant to be torn and shared. It teaches you to watch dough, to trust fermentation, to find satisfaction in something made with your hands.
The technique, the tradition, and the story behind every dish.
Discover Culinary AdvisorIngredients
bread flour
Quantity
3 cups (430g)
preferably stone-ground
fine sea salt
Quantity
1 1/2 teaspoons (8g)
instant yeast
Quantity
1/4 teaspoon (1g)
water
Quantity
1 1/2 cups (355ml)
at room temperature
| Ingredient | Quantity |
|---|---|
| bread flourpreferably stone-ground | 3 cups (430g) |
| fine sea salt | 1 1/2 teaspoons (8g) |
| instant yeast | 1/4 teaspoon (1g) |
| waterat room temperature | 1 1/2 cups (355ml) |
Equipment Needed
- •Dutch oven with lid (4-6 quart, cast iron or enameled)
- •Large mixing bowl
- •Bench scraper or sturdy spatula
- •Sharp knife or lame for scoring
- •Wire cooling rack
Instructions
- 1
Combine the dry ingredients
Measure the flour into a large mixing bowl. Add the salt and yeast, keeping them on opposite sides of the bowl before whisking together. Salt slows yeast if they touch directly before hydration. A few turns with a fork or whisk distributes everything evenly.
- 2
Add water and mix
Pour in the room temperature water all at once. Stir with a wooden spoon or your hands until no dry flour remains. The dough will look shaggy, sticky, and rough. This is correct. You are not building structure through kneading. Time will do that work for you.
Water temperature matters. Too cold and the yeast sleeps. Too hot and you kill it. Room temperature, around 70F, is right. - 3
Cover and rest overnight
Cover the bowl with a plate, a damp towel, or plastic wrap. Leave it on your counter, away from drafts, for 12 to 18 hours. The dough is ready when the surface is dotted with bubbles and it has more than doubled. It will smell yeasty and alive, slightly tangy from the slow fermentation.
A cooler kitchen means a longer rise. A warmer kitchen means a shorter one. Both produce good bread. Watch the dough, not the clock. - 4
Shape the loaf gently
Generously flour your work surface. Scrape the dough out of the bowl in one piece. It will be loose and sticky. Flour your hands and fold the dough over itself once or twice, then shape it into a rough ball by tucking the edges underneath. Do not punch it down or knead it. You want to preserve the air bubbles that time created.
- 5
Second rise
Place the shaped dough seam-side down on a piece of parchment paper, or into a floured towel-lined bowl with the seam facing up. Cover loosely and let rest for one to two hours. The dough should feel puffy and relaxed, though it will not double again. Thirty minutes before baking, place your Dutch oven with its lid inside the oven and preheat to 450F.
- 6
Score and transfer to pot
Carefully remove the screaming-hot Dutch oven. If your dough is on parchment, lift it by the paper and lower it into the pot. If in a towel-lined bowl, turn it out seam-side up directly into the pot. Use a sharp knife or razor blade to slash the top with one confident stroke, about half an inch deep. This gives the bread room to expand. Replace the lid immediately.
The lid traps steam from the wet dough, creating the crisp, blistered crust that professional ovens achieve. This is the secret. - 7
Bake covered, then uncovered
Bake with the lid on for 30 minutes. The steam inside is doing its work. Remove the lid and bake another 10 to 15 minutes until the crust is deep golden brown and the loaf sounds hollow when tapped on the bottom. A darker crust means more flavor. Do not be timid.
- 8
Cool completely
Transfer the bread to a wire rack. Listen to it crackle as the crust contracts. This is the bread singing. Wait at least one hour before cutting, longer if you can manage it. The interior is still setting. Cutting too soon releases steam and leaves you with gummy bread. Patience, again, is the technique.
The hardest part of baking bread is not eating it immediately. The wait is worth it.
Chef Tips
- •Source your flour thoughtfully. Regional mills like King Arthur, Central Milling, or your local stone-ground option produce flour with character. The wheat variety and milling method matter more than most people realize.
- •The timing is flexible. Twelve hours produces a milder loaf. Eighteen hours gives you more tang and complexity. Both are correct.
- •If your kitchen runs cold in winter, let the dough rise in the oven with just the light on. The bulb provides gentle warmth.
- •This bread is best the day it is baked. On day two, toast it. By day three, make breadcrumbs or croutons. Nothing is wasted.
Advance Preparation
- •The dough can rest up to 24 hours in a cool kitchen if your schedule shifts. A slower rise deepens flavor.
- •Shaped dough can be refrigerated overnight for the second rise, then baked cold the next morning. Add 5 minutes to the covered baking time.
- •This bread does not freeze well after baking. Bake it fresh, eat it that day, and make another loaf tomorrow.
Frequently Asked Questions
Nutrition Information
1 serving (about 80g)
Where cooking meets culture.
Culinary mentorship, cultural storytelling, and the editorial depth that makes cooking meaningful.
Explore Culinary Advisor