Culinary Advisor
A cooking platform built around craft, culture, and the stories behind what we eat.
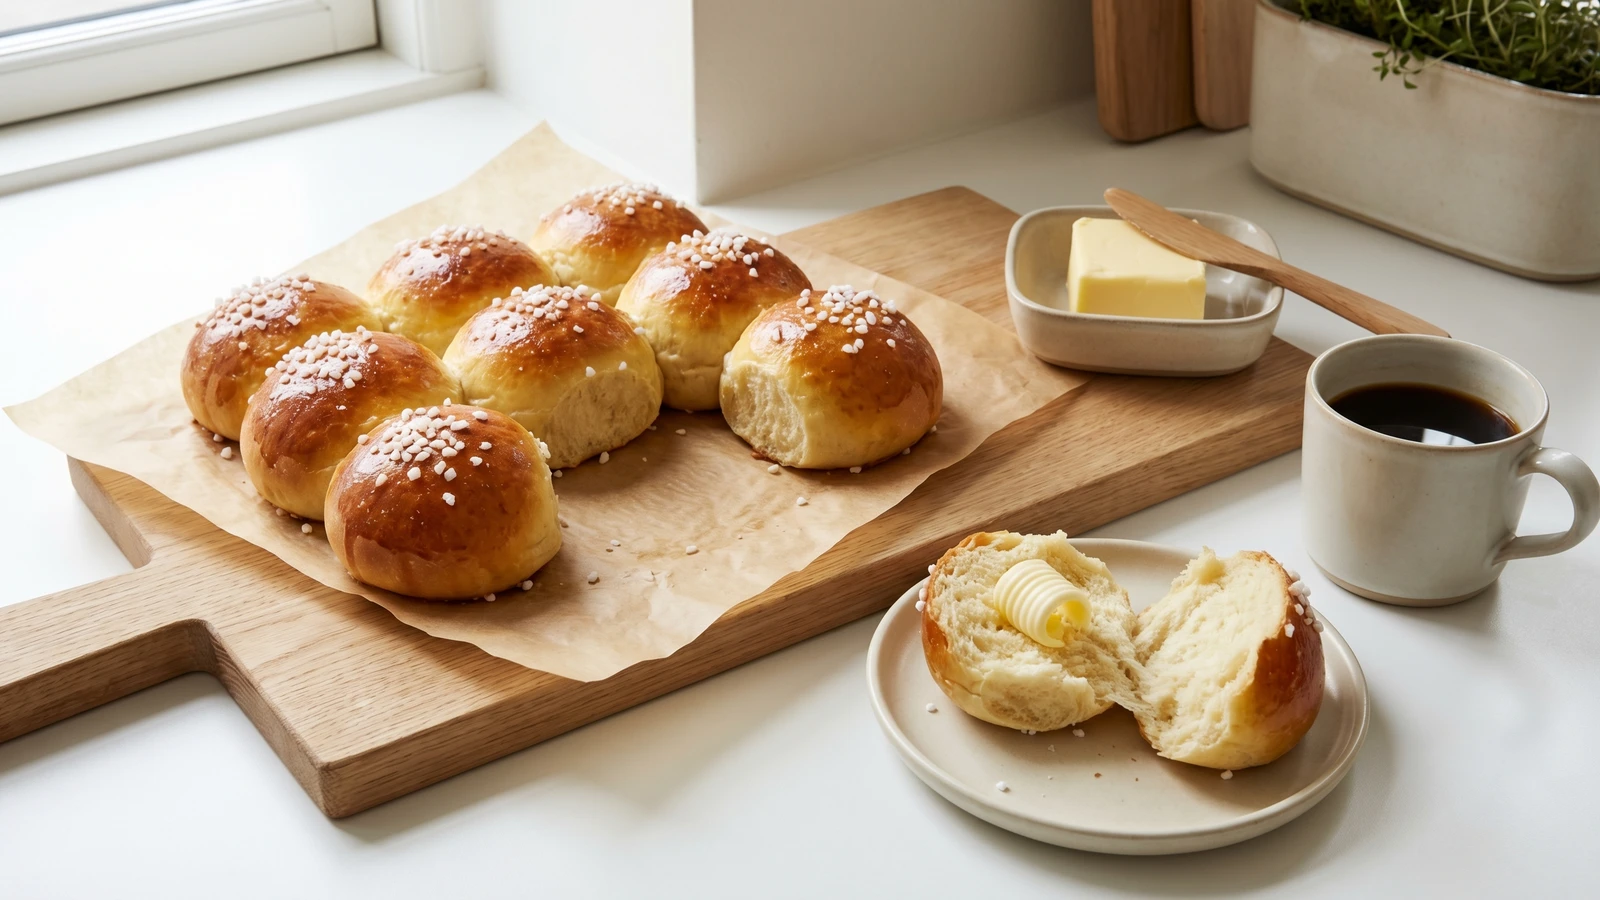
Krydderboller
Created by Chef Freja
Soft Danish cardamom buns with a golden egg-washed crust and pearl sugar on top. The year-round bolle that fills a kitchen with the scent of warmth and spice, best split open, toasted, and spread with cold butter.
Cardamom is the quiet signature of Danish baking. It's in the kanelsnegle, the wienerbrod, the kransekage at New Year. But nowhere does it speak more clearly than in a krydderbolle, where there's nothing to hide behind. No cinnamon filling, no layers of laminated butter. Just a soft, golden bun and the warm hum of cardamom through every bite.
Krydderboller are the year-round sibling to varme hveder, the cream-filled buns that appear on Store Bededag in spring and vanish the next morning. Where varme hveder belong to a single day, krydderboller belong to every day. They're the buns in the bread basket at Sunday lunch, the ones you split and toast on a Wednesday morning, the ones you bring to a friend's kitchen wrapped in a cloth while they're still warm. They're cooked with love, and that's something you can taste.
The technique is simple enriched dough, and I'll walk you through each step so you understand not just what to do but why. Pay attention to two things: the cardamom must be fresh enough to fill the room when you open the jar, and the dough must be kneaded until it feels alive under your hands. Get those right and the rest follows. You'll know when it's right.
Cardamom reached Denmark through the spice trade routes that connected Copenhagen's harbour to the wider world from the 1600s onward. While it remained expensive, Danish bakers adopted it so thoroughly that it became the defining flavour of the country's bread and pastry tradition, more so than in any other European cuisine outside Scandinavia. Krydderboller, literally "spice buns," evolved as the everyday expression of this preference: a plain wheat bun whose only distinction was the cardamom folded into its dough. By the 19th century they were a bakery staple across Denmark, sold alongside the more elaborate wienerbrod and often preferred for their simplicity.
The technique, the tradition, and the story behind every dish.
Discover Culinary AdvisorIngredients
strong white bread flour
Quantity
500g, plus extra for dusting
caster sugar
Quantity
75g
ground cardamom
Quantity
2 teaspoons
freshly ground if possible
fine sea salt
Quantity
1 teaspoon
instant dry yeast
Quantity
7g
whole milk
Quantity
250ml
warmed to body temperature
unsalted butter
Quantity
75g
softened
egg (for the dough)
Quantity
1 large
egg (for glazing)
Quantity
1
beaten
pearl sugar (optional)
Quantity
to finish
| Ingredient | Quantity |
|---|---|
| strong white bread flour | 500g, plus extra for dusting |
| caster sugar | 75g |
| ground cardamomfreshly ground if possible | 2 teaspoons |
| fine sea salt | 1 teaspoon |
| instant dry yeast | 7g |
| whole milkwarmed to body temperature | 250ml |
| unsalted buttersoftened | 75g |
| egg (for the dough) | 1 large |
| egg (for glazing)beaten | 1 |
| pearl sugar (optional) | to finish |
Equipment Needed
- •Large mixing bowl
- •Stand mixer with dough hook (optional, but helpful)
- •Two baking sheets
- •Kitchen scale
- •Wire cooling rack
- •Mortar and pestle or spice grinder for cardamom
Instructions
- 1
Bloom the cardamom
Combine the flour, sugar, cardamom, salt, and yeast in a large bowl. Add the cardamom directly to the dry ingredients and give them a good stir. This matters: cardamom is fat-soluble, and mixing it through the flour first means it distributes evenly before the butter goes in. If you add it to the wet ingredients, it clumps and you get pockets of intense spice and stretches of nothing.
If you can find whole green cardamom pods, crack them open and grind the seeds yourself in a mortar. The fragrance will fill the room before you even start kneading. Pre-ground cardamom works, but double-check it smells like something. Old cardamom smells like dust, and dust is what your buns will taste of. - 2
Build the dough
Make a well in the centre of the flour. Pour in the warm milk and crack in the egg. Stir from the centre outward with a wooden spoon until you have a rough, shaggy mass. Now add the softened butter in three or four pieces and work it in. The dough will feel greasy and uncooperative at first. Keep going. As the butter incorporates, the dough comes together into something smooth and slightly tacky. This takes about ten minutes by hand, six or seven with a stand mixer on medium speed using the dough hook.
The milk should feel warm when you dip your finger in, never hot. If the milk is too hot it kills the yeast. Body temperature is the target: you shouldn't feel a difference between the milk and your skin. - 3
Knead until elastic
Turn the dough out onto a lightly floured surface and knead it until it is smooth, elastic, and springs back when you press it with your fingertip. You're developing the gluten network that gives the buns their soft, pillowy structure. Without this step, the buns come out dense and crumbly. You'll feel the dough change under your hands: it goes from slack and sticky to taut and alive. That transformation is the gluten doing its work.
Try the windowpane test. Pull a small piece of dough gently between your fingers. If you can stretch it thin enough to see light through it without it tearing, the gluten is ready. If it tears, knead for another two minutes and test again. - 4
First rise
Shape the dough into a ball and place it back in the bowl. Cover with a damp cloth or cling film and leave it in a warm spot for one hour to one hour and a half, until it has doubled in size. The yeast needs time here, and time is what gives the dough its flavour. A fast rise in a hot oven gives you volume but nothing else. A slow, patient rise in gentle warmth gives you the slightly sweet, complex taste that makes these buns worth making from scratch.
- 5
Shape the buns
Tip the risen dough onto a lightly floured surface and press it gently to knock out the largest air bubbles. Divide it into twelve equal pieces. To shape each one, cup your hand over a piece of dough and roll it in a tight circle against the counter. Your hand should forma cage around the dough, not a fist. The friction between the dough and the counter surface pulls the outside taut and creates the smooth, round shape you want. If the dough sticks, use less flour, not more. A tiny bit of friction is what gives you the tension.
A kitchen scale is your friend here. Weigh the total dough, divide by twelve, and portion by weight. Even-sized buns bake evenly. Uneven ones mean some are perfect while others are overcooked or underdone. - 6
Second rise
Place the shaped buns on two baking sheets lined with parchment, spacing them about 5cm apart. They will spread as they rise. Cover loosely with a cloth and let them prove for forty to forty-five minutes. They should look puffy, soft, and slightly larger than when you shaped them. Don't wait until they've doubled again. Over-proved buns collapse in the oven and go flat. You want them confident but not exhausted.
- 7
Glaze and bake
Heat the oven to 190C. Brush the tops of the buns gently with beaten egg. Use a soft touch: pressing down deflates the dough you've spent two hours building. If you're using pearl sugar, scatter it over the tops now while the egg wash is still wet so it sticks. Bake for sixteen to eighteen minutes, until the tops are a deep, even gold and the bottoms sound hollow when you tap them. Pull them from the oven and transfer to a wire rack. Let them cool for at least ten minutes. They need that time for the crumb to set. Cut one open too early and the centre will be gummy. Wait, and you'll be rewarded with a crumb that is soft, light, and fragrant with cardamom all the way through.
Chef Tips
- •The single most important thing is the cardamom. Buy whole green pods and grind the seeds yourself in a mortar or spice grinder. Pre-ground cardamom loses its essential oils within weeks of opening. If your ground cardamom doesn't smell like anything when you hold the jar to your nose, it won't taste like anything in the bun.
- •These buns are best on the day they're baked, but they toast beautifully the next morning. Split them in half, toast until the cut side is golden and slightly crisp, and spread with cold salted butter. The contrast of warm bread and cold butter is the whole point of the second day.
- •Don't over-sweeten the dough. Krydderboller are bread, not cake. The sugar is there to feed the yeast and give the crust its colour, not to make the buns sweet. The cardamom should be the dominant flavour, not sugar.
- •If you want to serve these the Danish way, put a basket of them on the table with a dish of good butter and a pot of strong black coffee. That's a complete afternoon. Hyggelig in the truest sense.
Advance Preparation
- •The dough can be made the evening before. After the first rise, punch it down, cover tightly, and refrigerate overnight. The slow cold fermentation deepens the flavour. In the morning, bring the dough back to room temperature for thirty minutes, then shape, prove, and bake as normal.
- •Baked buns freeze well for up to two months. Cool completely, then freeze in a sealed bag. Thaw at room temperature and refresh in a 150C oven for five minutes, or split and toast directly from frozen.
- •If you're baking for a gathering, shape the buns and place them on the tray, then cover and refrigerate before the second rise. In the morning, take them out, let them prove at room temperature for about an hour, and bake fresh. The smell of cardamom buns coming out of the oven is a way to greet people. This is how we greet each other.
Frequently Asked Questions
Nutrition Information
1 serving (about 75g)
Where cooking meets culture.
Culinary mentorship, cultural storytelling, and the editorial depth that makes cooking meaningful.
Explore Culinary Advisor