Culinary Advisor
A cooking platform built around craft, culture, and the stories behind what we eat.
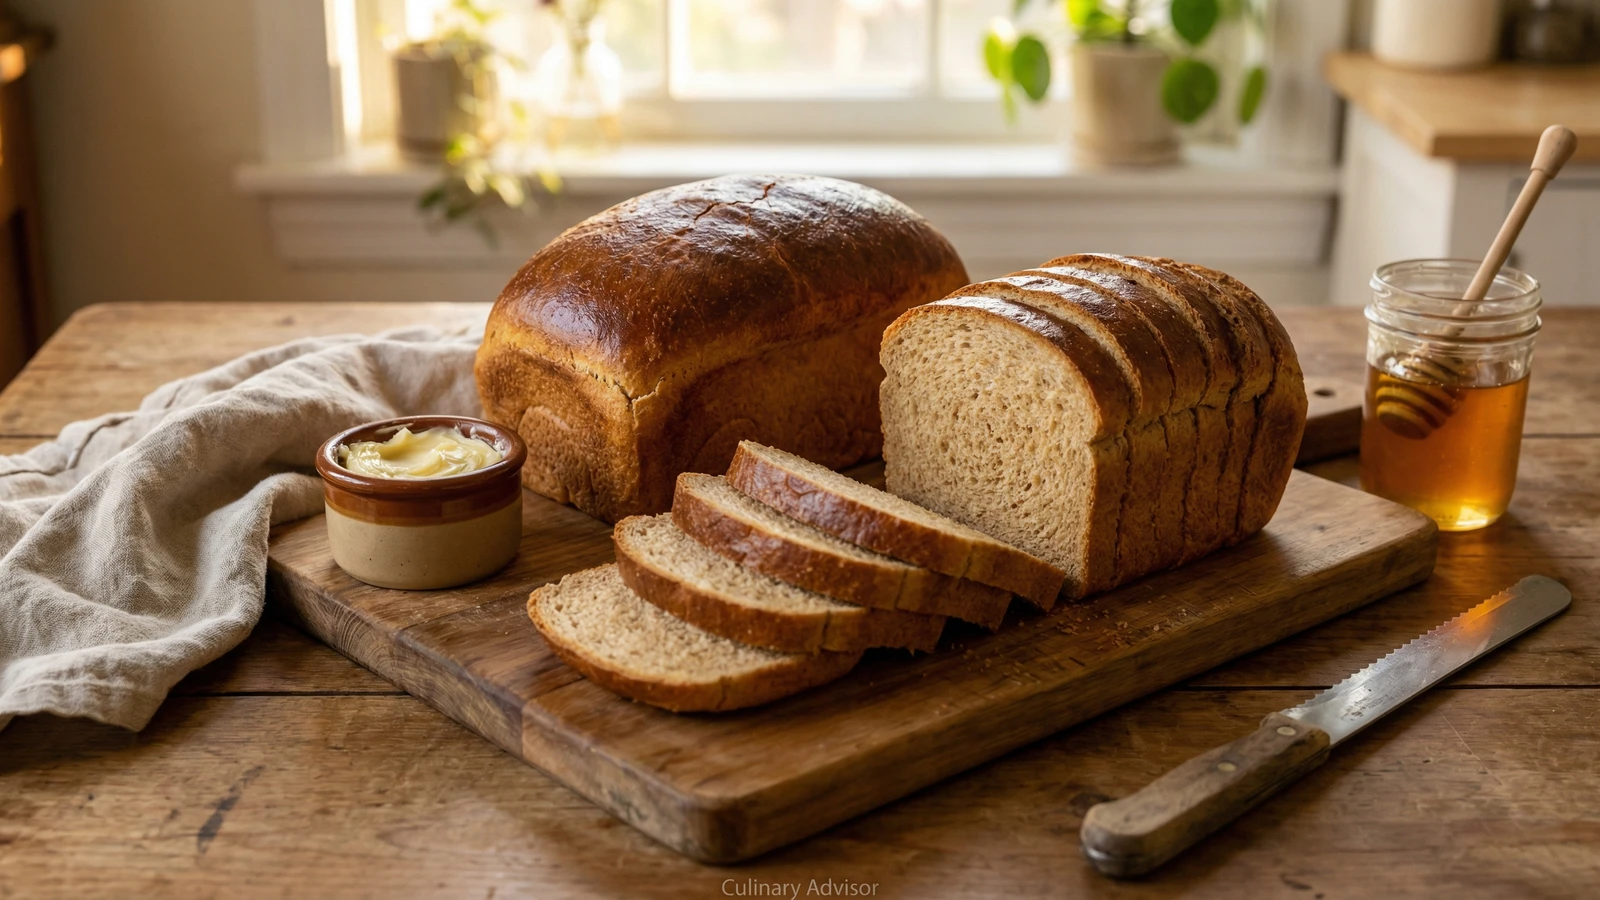
Honey Whole Wheat Sandwich Bread
Created by Chef Ally
Stone-ground whole wheat and local honey baked into soft, honest loaves that remind you what bread should taste like. The kind you want to slice thick and eat with good butter.
Start with the flour. Stone-ground whole wheat from a mill you trust will smell like wheat fields. It will feel slightly coarse between your fingers. This is the germ and bran that industrial milling strips away, and with them goes most of the nutrition and all of the character. Find a good source. It changes everything.
The honey matters too. Local honey carries the flavor of where you live, the wildflowers and clover and fruit blossoms that your bees visited. It gives this bread a sweetness that is gentle and real, not cloying. It also feeds the yeast and helps the crumb stay soft for days.
Bread asks something of you. It asks for your hands and your time. It asks you to watch and wait and learn its rhythms. In return, it gives you loaves that taste alive, that nourish your family, that cost pennies compared to the pale imitations on store shelves. Every meal is a meaningful choice. Making your own bread is one of the most meaningful choices you can make.
The technique, the tradition, and the story behind every dish.
Discover Culinary AdvisorIngredients
whole milk
Quantity
2 cups (480ml)
warmed to 110°F
local honey
Quantity
1/3 cup (113g)
active dry yeast
Quantity
2 1/4 teaspoons (1 packet)
stone-ground whole wheat flour
Quantity
3 cups (360g)
bread flour
Quantity
2 1/2 cups (312g)
plus more for kneading
fine sea salt
Quantity
2 teaspoons
unsalted butter
Quantity
4 tablespoons (57g)
softened
large egg
Quantity
1
at room temperature
butter
Quantity
for greasing pans
| Ingredient | Quantity |
|---|---|
| whole milkwarmed to 110°F | 2 cups (480ml) |
| local honey | 1/3 cup (113g) |
| active dry yeast | 2 1/4 teaspoons (1 packet) |
| stone-ground whole wheat flour | 3 cups (360g) |
| bread flourplus more for kneading | 2 1/2 cups (312g) |
| fine sea salt | 2 teaspoons |
| unsalted buttersoftened | 4 tablespoons (57g) |
| large eggat room temperature | 1 |
| butter | for greasing pans |
Equipment Needed
- •Two 9x5-inch loaf pans
- •Instant-read thermometer
- •Wire cooling rack
- •Large mixing bowl
- •Clean kitchen towel
Instructions
- 1
Wake the yeast
Warm the milk until it feels like bathwater on your wrist. Pour it into a large bowl and stir in the honey until dissolved. Sprinkle the yeast over the surface and let it sit for five to ten minutes. You will see it foam and bubble. This is the yeast coming alive. If nothing happens, your milk was too hot or the yeast is old. Start again.
Local honey from a beekeeper you know brings flavor that industrial honey cannot match. The bees foraged on flowers near you. That matters. - 2
Build the dough
Add the whole wheat flour and one cup of the bread flour to the yeast mixture. Stir with a wooden spoon until you have a thick, shaggy batter. Let this rest for fifteen minutes. This pause lets the whole wheat flour absorb liquid and softens the bran. Bakers call it an autolyse. You will call it the difference between dense bread and tender bread.
- 3
Add remaining ingredients
Sprinkle the salt over the dough. Add the softened butter in pieces and the egg. Mix until the butter disappears into the dough. Add the remaining bread flour gradually, stirring until the dough pulls away from the sides of the bowl. It will be sticky. Whole wheat dough always is.
- 4
Knead with intention
Turn the dough onto a floured surface. Knead for eight to ten minutes, adding flour only when the dough sticks to your hands so badly you cannot work it. Push with the heel of your palm, fold, turn. Push, fold, turn. The dough will transform from rough and tacky to smooth and elastic. When you poke it, it should spring back slowly. This is gluten developing. This is what gives bread its structure.
Whole wheat dough will never feel as silky as white bread dough. The bran particles interrupt the gluten strands. Accept this. The nutrition and flavor are worth it. - 5
First rise
Shape the dough into a ball and place it in a lightly oiled bowl, turning once to coat. Cover with a damp kitchen towel or plastic wrap. Set it somewhere warm and draft-free. Let it rise until doubled, about one to one and a half hours. The timing depends on your kitchen. Watch the dough, not the clock.
- 6
Shape the loaves
Butter two 9x5-inch loaf pans generously. Punch down the risen dough to release the gas. It will sigh. Divide it in half. Working with one piece at a time, pat the dough into a rectangle roughly the width of your pan. Roll it up tightly from the short end, pinching the seam closed. Place seam-side down in the prepared pan. Repeat with the second piece.
- 7
Second rise
Cover the pans loosely with the damp towel. Let the loaves rise until the dough crowns about an inch above the rim of the pan, forty-five minutes to an hour. When you press gently with a fingertip, the indentation should fill in slowly. If it springs back immediately, give it more time. If it does not spring back at all, you have waited too long.
Preheat your oven while the bread rises. A fully heated oven gives the loaves their final burst of rise in the first minutes of baking. - 8
Bake until golden
Bake in a preheated 350°F oven for thirty to thirty-five minutes. The loaves are done when the tops are deep golden brown and the internal temperature reads 190°F. Most importantly, tap the bottom of a loaf. It should sound hollow, like knocking on a door. If it thuds, bake five minutes longer.
- 9
Cool completely
Turn the loaves out of their pans immediately onto a wire rack. If you leave them in the pans, the bottoms will steam and turn soggy. Let them cool for at least an hour before slicing. I know this is difficult. The bread is singing to you as it cools, the crust crackling as it contracts. But cutting into hot bread compresses the crumb and wastes all that careful work. Patience.
Chef Tips
- •Seek out stone-ground flour from a regional mill. Many ship directly. The difference between fresh-milled whole wheat and the bag that has sat on a supermarket shelf for months is the difference between cooking with ingredients and cooking with commodities.
- •Bread dough loves consistency. If your kitchen is cold, let the dough rise in your oven with just the light on. The bulb generates enough warmth to keep things moving.
- •Slice this bread only as you need it. A whole loaf stays fresher longer. Store it cut-side down on a wooden board, or wrapped in a linen towel. Plastic traps moisture and softens the crust.
- •Day-old slices make the best toast. Stale bread makes better breadcrumbs than anything you can buy. Waste nothing.
Advance Preparation
- •The dough can rise overnight in the refrigerator after the first rise. Shape cold dough into loaves and let them come to room temperature while they proof, about two hours.
- •Baked loaves freeze beautifully for up to three months. Wrap tightly in plastic, then foil. Thaw at room temperature and refresh in a 350°F oven for ten minutes.
- •Slice and freeze for grab-and-go toast. Frozen slices go directly into the toaster.
Frequently Asked Questions
Nutrition Information
1 serving (about 50g)
Where cooking meets culture.
Culinary mentorship, cultural storytelling, and the editorial depth that makes cooking meaningful.
Explore Culinary Advisor