Culinary Advisor
A cooking platform built around craft, culture, and the stories behind what we eat.
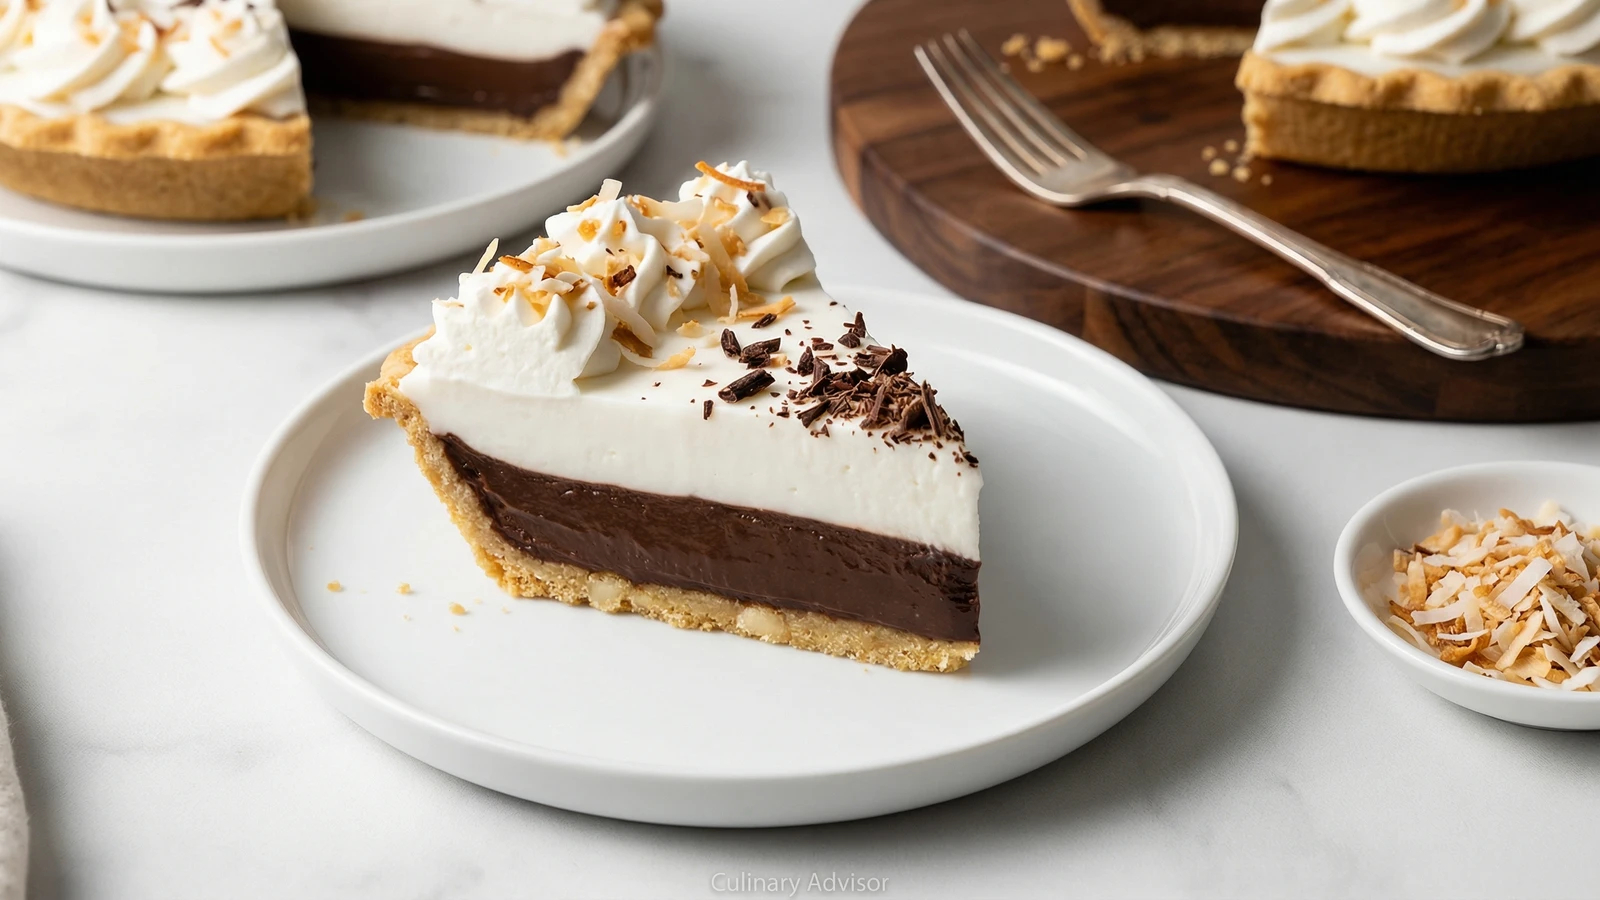
Hawaii Chocolate Haupia Pie
Two silken layers of dark chocolate pudding and coconut haupia stacked in a buttery macadamia nut crust, crowned with billowing whipped cream. This is the pie that launched a thousand North Shore pilgrimages.
Every island culture develops desserts that speak to its soul. For Hawaii, that dessert is haupia: a simple coconut pudding that has graced luau tables for generations. The genius of chocolate haupia pie lies in pairing that traditional coconut layer with a stratum of dark chocolate, both cradled in a crust made from the islands' most prized nut.
The story goes that Ted's Bakery on Oahu's North Shore perfected this combination sometime in the 1980s, though Hawaiians had been eating haupia at celebrations for centuries before that. Japanese, Filipino, and Portuguese immigrants brought their own pudding traditions to the islands. What emerged was something distinctly Hawaiian: a pie that could only exist in this particular crossroads of the Pacific.
The macadamia crust is essential. These nuts arrived in Hawaii from Australia in the late 1800s and found their spiritual home in the volcanic soil. Their buttery richness and subtle sweetness provide a foundation worthy of what comes above. Some recipes call for graham cracker or Oreo crusts. Those are fine for picnics. This is the version you make when you want to honor the dish properly.
Don't rush the chilling time. The magic happens when both layers set completely, creating that clean knife-cut revelation of chocolate over white. This pie rewards patience.
The technique, the tradition, and the story behind every dish.
Discover Culinary AdvisorIngredients
all-purpose flour
Quantity
1 1/2 cups (180g)
macadamia nuts
Quantity
1/2 cup (60g)
finely ground
granulated sugar (crust)
Quantity
1/4 cup (50g)
fine sea salt (crust)
Quantity
1/2 teaspoon
cold unsalted butter (crust)
Quantity
10 tablespoons (140g)
cut into cubes
large egg yolk
Quantity
1
ice water
Quantity
2 tablespoons
whole milk (chocolate layer)
Quantity
1 cup (240ml)
coconut milk (chocolate layer)
Quantity
1 cup (240ml)
well-stirred
granulated sugar (chocolate layer)
Quantity
1/2 cup (100g)
cornstarch (chocolate layer)
Quantity
1/4 cup (30g)
fine sea salt (chocolate layer)
Quantity
1/4 teaspoon
semi-sweet chocolate
Quantity
4 ounces (115g)
finely chopped
unsalted butter (chocolate layer)
Quantity
2 tablespoons
pure vanilla extract (chocolate layer)
Quantity
1 teaspoon
coconut milk (haupia layer)
Quantity
1 1/2 cups (360ml)
well-stirred
whole milk (haupia layer)
Quantity
1/2 cup (120ml)
granulated sugar (haupia layer)
Quantity
1/2 cup (100g)
cornstarch (haupia layer)
Quantity
1/4 cup (30g)
fine sea salt (haupia layer)
Quantity
1/4 teaspoon
coconut extract
Quantity
1 teaspoon
cold heavy whipping cream
Quantity
1 1/2 cups (360ml)
powdered sugar
Quantity
3 tablespoons
pure vanilla extract (whipped cream)
Quantity
1 teaspoon
toasted coconut flakes (optional)
Quantity
for garnish
chocolate shavings (optional)
Quantity
for garnish
| Ingredient | Quantity |
|---|---|
| all-purpose flour | 1 1/2 cups (180g) |
| macadamia nutsfinely ground | 1/2 cup (60g) |
| granulated sugar (crust) | 1/4 cup (50g) |
| fine sea salt (crust) | 1/2 teaspoon |
| cold unsalted butter (crust)cut into cubes | 10 tablespoons (140g) |
| large egg yolk | 1 |
| ice water | 2 tablespoons |
| whole milk (chocolate layer) | 1 cup (240ml) |
| coconut milk (chocolate layer)well-stirred | 1 cup (240ml) |
| granulated sugar (chocolate layer) | 1/2 cup (100g) |
| cornstarch (chocolate layer) | 1/4 cup (30g) |
| fine sea salt (chocolate layer) | 1/4 teaspoon |
| semi-sweet chocolatefinely chopped | 4 ounces (115g) |
| unsalted butter (chocolate layer) | 2 tablespoons |
| pure vanilla extract (chocolate layer) | 1 teaspoon |
| coconut milk (haupia layer)well-stirred | 1 1/2 cups (360ml) |
| whole milk (haupia layer) | 1/2 cup (120ml) |
| granulated sugar (haupia layer) | 1/2 cup (100g) |
| cornstarch (haupia layer) | 1/4 cup (30g) |
| fine sea salt (haupia layer) | 1/4 teaspoon |
| coconut extract | 1 teaspoon |
| cold heavy whipping cream | 1 1/2 cups (360ml) |
| powdered sugar | 3 tablespoons |
| pure vanilla extract (whipped cream) | 1 teaspoon |
| toasted coconut flakes (optional) | for garnish |
| chocolate shavings (optional) | for garnish |
Equipment Needed
- •9-inch pie dish
- •Food processor
- •Pie weights or dried beans
- •Medium saucepans (2)
- •Offset spatula
- •Hand mixer or stand mixer
Instructions
- 1
Make the mac nut crust
Pulse flour, ground macadamia nuts, sugar, and salt in a food processor until combined. Add cold butter cubes and pulse in short bursts until mixture resembles coarse meal with pea-sized butter pieces visible. Whisk egg yolk with ice water. Drizzle over flour mixture and pulse just until dough begins to clump together. It should hold when squeezed but not form a solid ball.
Grind the macadamias yourself in the food processor first, then add the flour. Store-bought nut flour lacks the oils that make this crust special. - 2
Press and chill the crust
Turn dough into a 9-inch pie dish. Press evenly across the bottom and up the sides using the heel of your hand, then your fingers for the edges. The crust should be about one-quarter inch thick throughout. Refrigerate for at least 30 minutes. This rest firms the butter and relaxes the gluten, preventing shrinkage.
- 3
Blind bake until golden
Preheat oven to 350°F. Prick the chilled crust all over with a fork, about twenty times. Line with parchment and fill with pie weights or dried beans. Bake 15 minutes, then carefully remove weights and parchment. Continue baking 8 to 12 minutes until the crust turns deep golden brown and smells of toasted nuts. The macadamia oil will make your kitchen smell like a Hawaiian bakery. Cool completely on a wire rack.
Don't underbake. A pale crust will turn soggy under the pudding layers. You want it fully cooked and slightly fragrant. - 4
Prepare the chocolate layer
In a medium saucepan, whisk together whole milk, coconut milk, sugar, cornstarch, and salt until no lumps remain. Set over medium heat and cook, whisking constantly, until the mixture thickens and begins to bubble. Once you see those lazy bubbles rising to the surface, continue cooking and whisking for one full minute. The pudding will become glossy and coat the back of a spoon thickly.
- 5
Add chocolate and finish
Remove from heat. Add chopped chocolate and butter, letting them sit for 30 seconds to melt in the residual heat. Whisk until completely smooth and glossy, the color of dark mahogany. Stir in vanilla. Pour immediately into the cooled crust, spreading evenly with an offset spatula. The layer should be about half an inch thick. Press plastic wrap directly onto the surface to prevent a skin from forming.
- 6
Refrigerate the chocolate layer
Refrigerate for 30 minutes until the chocolate layer is set enough to support the haupia but still has some give when pressed gently. If you pour haupia over fully set chocolate, the layers won't bond properly. If you pour it over liquid chocolate, they'll mix. Timing matters here.
- 7
Make the haupia layer
In a clean saucepan, whisk together coconut milk, whole milk, sugar, cornstarch, and salt. Cook over medium heat, whisking constantly, until thickened and bubbling. Continue cooking one minute past the first bubbles. The haupia should be silky, pure white, and thick enough to mound briefly when dropped from a spoon. Remove from heat and stir in coconut extract.
Traditional haupia uses only coconut milk, but a touch of whole milk creates a creamier texture that complements the chocolate layer beautifully. - 8
Layer the haupia
Let the haupia cool for 5 minutes, stirring occasionally to prevent a skin. It should still be warm and pourable but not hot. Remove plastic wrap from the chocolate layer and gently pour haupia over it, starting in the center and letting it flow outward. Use an offset spatula to spread it evenly to the edges. The warmth will slightly bond the layers together.
- 9
Chill until completely set
Press fresh plastic wrap directly onto the haupia surface. Refrigerate for at least 4 hours, preferably overnight. The pie needs this time to set completely through both layers. When properly chilled, a knife will cut cleanly through both strata without the layers sliding apart.
- 10
Whip the cream
Just before serving, combine cold cream, powdered sugar, and vanilla in a large bowl. Beat with a hand mixer or whisk until the cream holds soft, billowing peaks that droop slightly at the tip. Stop before you reach stiff peaks. Overwhipped cream turns grainy and loses its luxurious texture.
Chill your bowl and beaters in the freezer for 10 minutes before whipping. Cold equipment makes the cream come together faster and fluffier. - 11
Top and garnish
Spread or pipe whipped cream over the entire surface of the chilled pie, creating gentle swirls and peaks. Scatter toasted coconut flakes around the edges and pile chocolate shavings in the center. Serve cold, cutting with a sharp knife dipped in hot water between slices for the cleanest presentation.
Chef Tips
- •Shake your coconut milk cans vigorously before opening. The fat separates during shipping and you need it fully emulsified for proper pudding texture. If it's still lumpy, warm it gently and whisk before measuring.
- •For the cleanest slices, chill the pie overnight rather than the minimum four hours. A well-set pie cuts like a dream.
- •Toast your coconut garnish in a dry skillet over medium heat, stirring constantly until golden. It takes about three minutes and burns in seconds, so stay attentive.
- •If you can find Hawaiian macadamia nuts from Mauna Loa or a local producer, use them. Their flavor is notably more complex than mainland imports.
- •This pie is best consumed within two days. After that, the crust begins to soften. Not ruined, just less magnificent.
Advance Preparation
- •The crust can be pressed into the pan and refrigerated, unbaked, for up to 2 days. Blind bake directly from the refrigerator.
- •The fully assembled pie (without whipped cream) can be made 2 days ahead and refrigerated. Add whipped cream just before serving.
- •The pie freezes well without the whipped cream topping. Thaw overnight in the refrigerator before finishing.
Frequently Asked Questions
Nutrition Information
1 serving (about 165g)
Where cooking meets culture.
Culinary mentorship, cultural storytelling, and the editorial depth that makes cooking meaningful.
Explore Culinary Advisor