Culinary Advisor
A cooking platform built around craft, culture, and the stories behind what we eat.
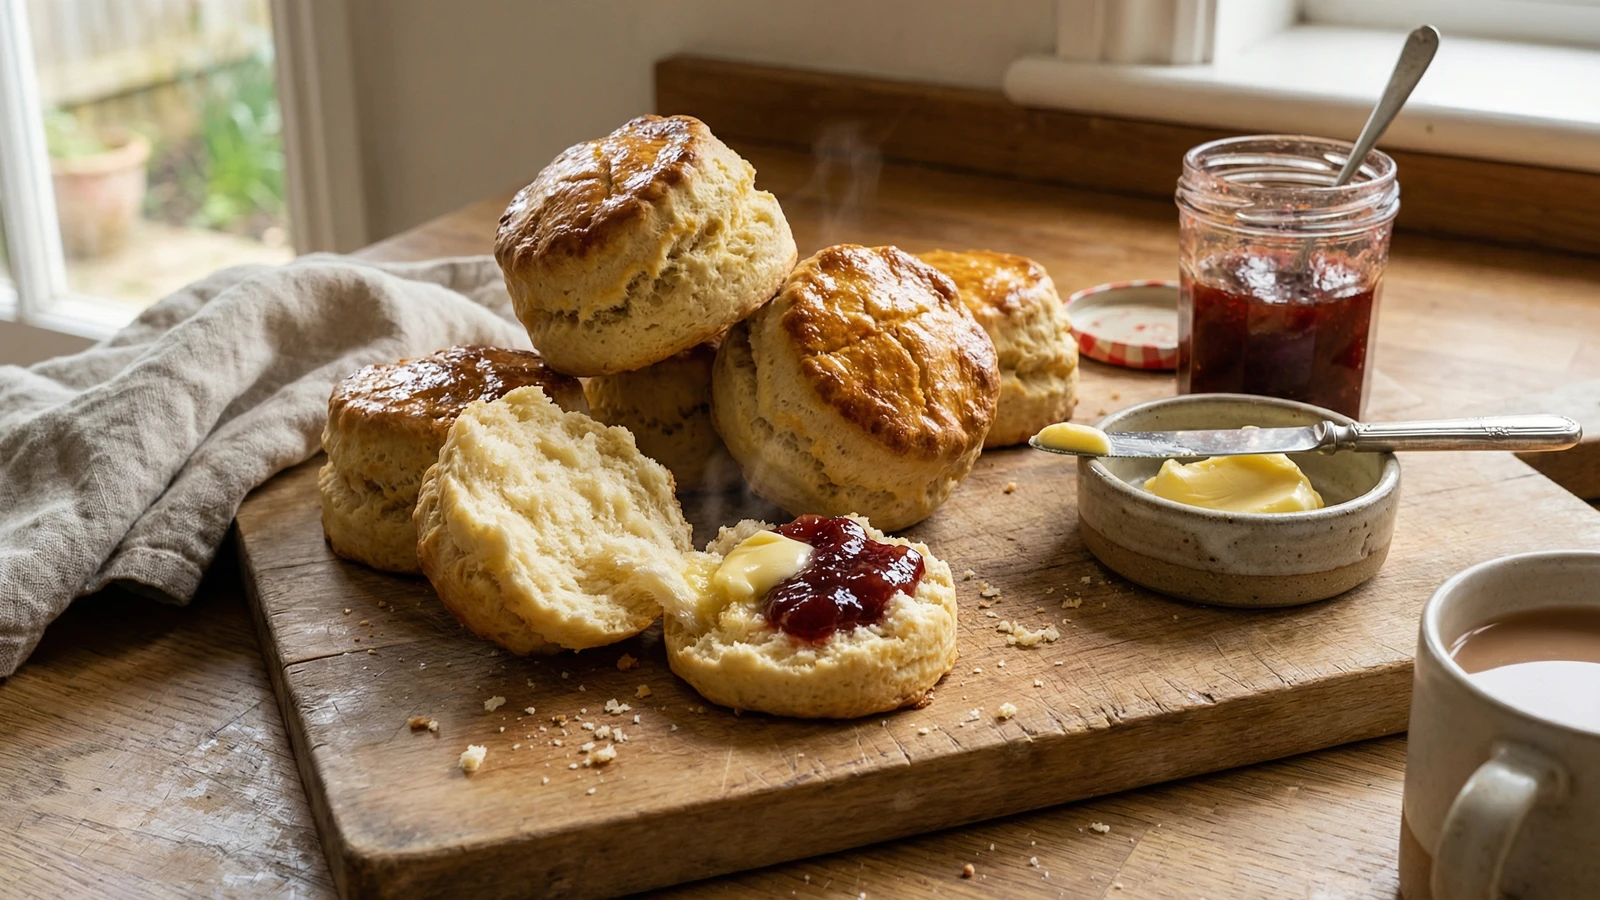
Buttermilk Scones
Created by Chef Thomas
Tall, tender scones with a soft buttermilk crumb and a deep golden top, the kind of thing you can make from cold to plate in half an hour and feel quietly clever about all afternoon.
There's a kind of grey afternoon, the sort that doesn't quite commit to rain, where the only sensible response is to put the oven on and make scones. It takes half an hour. By the time the kettle has boiled twice you'll have a tray of them cooling on the rack, smelling of warm butter and bread, and the afternoon will have rearranged itself into something worth being in.
Buttermilk is the thing here. It does two jobs at once. The acidity tenderises the flour, so the crumb stays soft and pillowy rather than tough, and it reacts with the baking powder to give the scones that proud, tall lift you want when you tear one open. Plain milk will get you a scone. Buttermilk will get you the scone you remember from someone's kitchen years ago, the one you've been quietly trying to recreate ever since.
The rules are few but they matter. Cold butter, cold buttermilk, a hot oven, a hot tray, and the lightest possible hand with the dough. Don't roll it. Don't twist the cutter. Don't keep working it after it has come together. A scone wants to be left alone to do its job, and your job is mostly to know when to stop.
I wrote it down in the notebook years ago, after a particularly good Saturday: "Scones. Buttermilk. Quick. Always." That note has earned its keep more times than I can count. We're only making dinner, or in this case, the small ceremony that comes before it.
The technique, the tradition, and the story behind every dish.
Discover Culinary AdvisorIngredients
self-raising flour
Quantity
450g
plus extra for dusting
baking powder
Quantity
2 teaspoons
fine sea salt
Quantity
1 teaspoon
golden caster sugar
Quantity
50g
cold unsalted butter
Quantity
100g
cubed
cold buttermilk
Quantity
250ml
plus a little extra for brushing
large egg
Quantity
1
good butter (optional)
Quantity
to serve
jam (optional)
Quantity
to serve
| Ingredient | Quantity |
|---|---|
| self-raising flourplus extra for dusting | 450g |
| baking powder | 2 teaspoons |
| fine sea salt | 1 teaspoon |
| golden caster sugar | 50g |
| cold unsalted buttercubed | 100g |
| cold buttermilkplus a little extra for brushing | 250ml |
| large egg | 1 |
| good butter (optional) | to serve |
| jam (optional) | to serve |
Equipment Needed
- •Large mixing bowl
- •6cm straight-sided round cutter
- •Heavy baking tray
- •Wire cooling rack
- •Pastry brush
Instructions
- 1
Heat the oven
Set the oven to 220C/200C fan and slide a baking tray onto the middle shelf to heat through. A hot tray under the scones helps the bottoms set quickly and pushes them upwards rather than outwards. This is half the secret of a tall scone.
Properly hot oven, properly cold ingredients. The shock between the two is what gives you the rise. - 2
Rub in the butter
Tip the flour, baking powder, salt and sugar into a large bowl and give it a brief whisk to combine. Add the cold cubed butter and rub it in with your fingertips, lifting your hands as you go to keep things cool. You want a rough, uneven texture, somewhere between breadcrumbs and rolled oats, with a few larger flecks of butter still showing. Those flecks turn into steam in the oven and lift the scones from the inside.
Cold hands help. If yours run warm, run them under the cold tap for a minute and dry them well before you start. - 3
Bring it together
Make a well in the middle and pour in almost all of the buttermilk, holding back a tablespoon or two. Stir with a butter knife in quick, cutting strokes until the dough just starts to come together in shaggy clumps. If it looks dry in places, add the rest. The dough should be soft and a bit untidy, never wet, never smooth. Stop the moment it holds together. Overworked scone dough is heavy scone dough.
- 4
Shape and cut
Tip the dough onto a lightly floured surface and pat it gently with your hands into a round about 3cm thick. Don't roll it. A rolling pin compresses the dough and the scones won't lift the way they should. Dip a straight-sided cutter (about 6cm) into flour and stamp out your scones with a firm, clean push, no twisting. Twisting seals the edges and stunts the rise. Gather the scraps, press them lightly back together, and cut more until the dough is used up.
The scones from the second pressing will always be a little less proud than the first. Eat those ones yourself. The good-looking ones are for guests. - 5
Glaze and bake
Beat the egg with a splash of buttermilk and brush the tops of the scones, taking care not to let it run down the sides, which would glue them to the tray and stop them rising evenly. Lift the hot tray from the oven, dust it with a little flour, and arrange the scones on it so they're almost touching. They like company in the oven. Bake for twelve to fifteen minutes, until the tops are deep golden and the kitchen smells unmistakably of warm butter and bread. Tap the bottom of one. It should sound hollow.
Trust your nose. It knows before the timer does. When the smell shifts from doughy to toasty, they're nearly there. - 6
Cool just enough
Lift the scones onto a wire rack and let them sit for five minutes, no longer. Tear one open with your hands rather than cutting it; the steam should rise out of a soft, pale crumb. Spread thickly with cold butter that melts into the warm middle, then a generous spoon of jam. Eat standing up, by the kitchen counter, while the kettle finishes boiling. There are few better feelings.
Chef Tips
- •Real buttermilk if you can find it. Cultured, slightly thick, tangy on the tongue. If you can't, a passable stand-in is 250ml whole milk with a tablespoon of lemon juice stirred in and left for ten minutes until it thickens and curdles. Not the same thing, but close enough on a Tuesday.
- •The dough should feel softer than you expect, almost too soft. That's right. Drier doughs make drier scones. Trust the wetness, work it lightly, and resist the urge to add more flour just to make it easier to handle.
- •Eat them the day they're made. Scones don't keep, no matter what anyone tells you. If you've got leftovers, split them, toast them under the grill the next morning, and butter them while they're still warm. That's a different pleasure, but a real one.
- •Jam first or cream first is a debate I won't be drawn into. Your kitchen, your rules.
Advance Preparation
- •The dry ingredients can be measured out and the butter rubbed in the night before. Cover and refrigerate, then add the buttermilk just before baking.
- •Unbaked scones freeze beautifully. Cut them, freeze them flat on a tray, then bag them up. Bake straight from frozen, adding three or four minutes to the cooking time. Scones on demand, more or less.
Frequently Asked Questions
Nutrition Information
1 serving (about 105g)
Where cooking meets culture.
Culinary mentorship, cultural storytelling, and the editorial depth that makes cooking meaningful.
Explore Culinary Advisor