Culinary Advisor
A cooking platform built around craft, culture, and the stories behind what we eat.
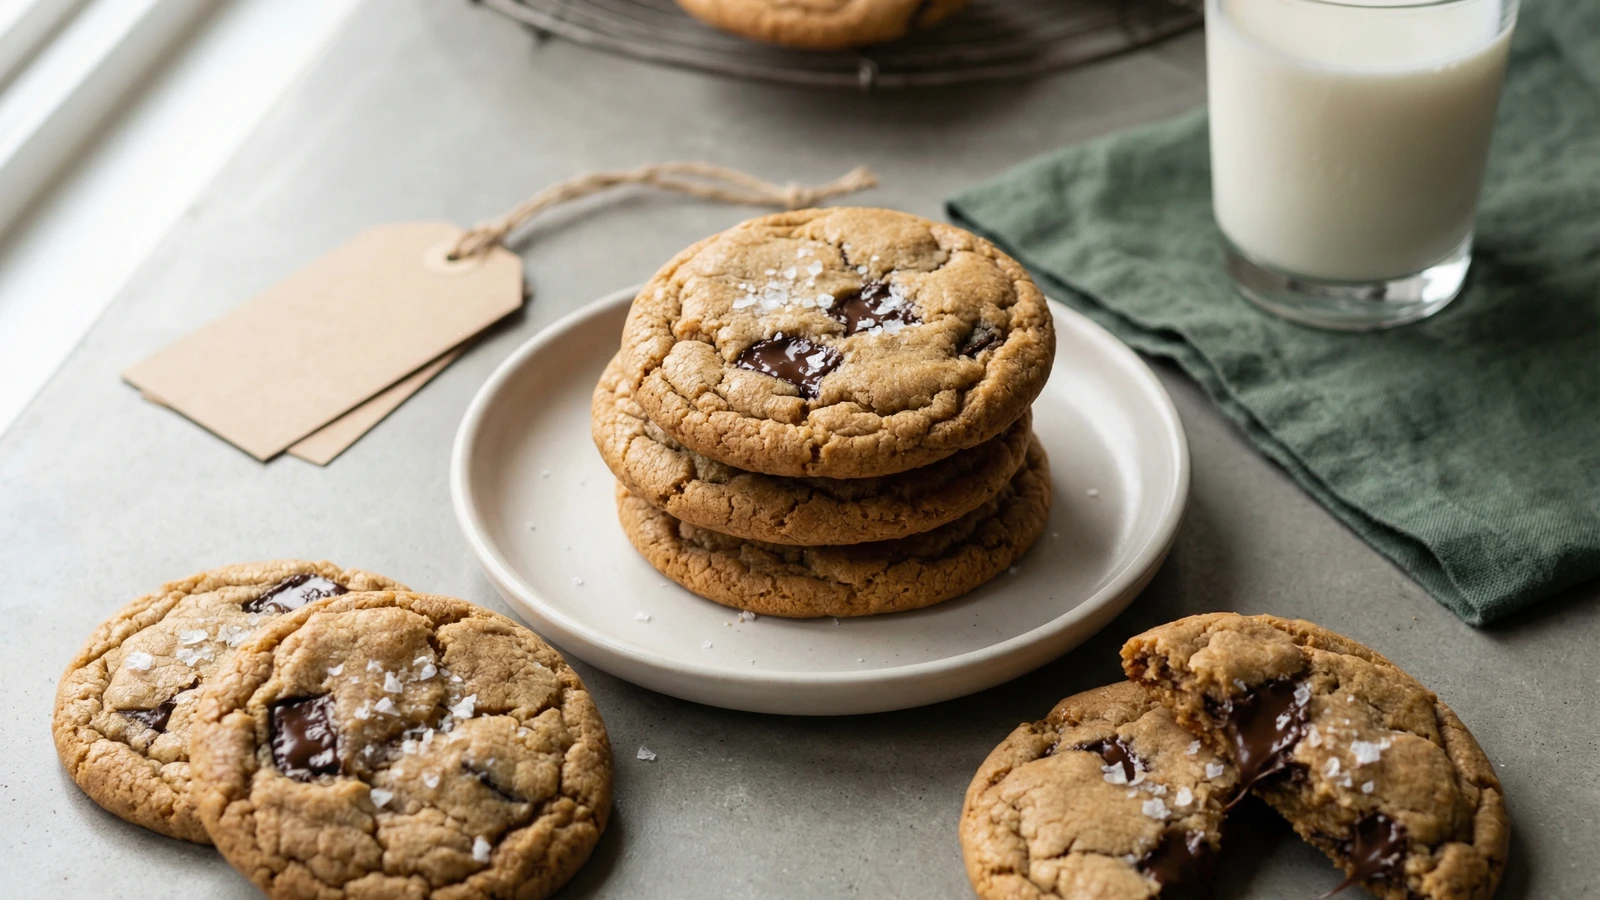
Brown Butter Miso Chocolate Chunk Cookies
Created by
Deeply nutty browned butter and the quiet umami of white miso transform these chocolate chunk cookies into something unforgettable, with crisp edges yielding to chewy centers and pools of bittersweet chocolate.
This cookie represents everything I love about American baking: the willingness to borrow techniques and ingredients from any tradition that makes food taste better, then claim the result as our own. Browned butter comes from the French, who call it beurre noisette for its hazelnut aroma. Miso belongs to Japan, where cooks have understood umami for centuries. Together in a chocolate chip cookie, they create something neither culture could have imagined alone.
The miso does something remarkable here. It doesn't make the cookies taste Japanese any more than the butter makes them taste French. Instead, it amplifies sweetness while adding a savory undertone that makes you reach for a second cookie before you've finished the first. Your guests will know something is different. Most won't guess what. Let them wonder.
I first encountered this combination at a small bakery in Portland, where a young pastry chef had the audacity to put fermented soybean paste in an American classic. I was skeptical until I tasted it. Now I make these every December, boxing them up for neighbors who've come to expect them. The cookies improve after resting overnight. The flavors deepen. The texture finds its perfect balance between crisp and chewy. Plan ahead, and you'll be rewarded.
The technique, the tradition, and the story behind every dish.
Discover Culinary AdvisorIngredients
unsalted butter
Quantity
1 cup (227g)
white miso paste
Quantity
2 tablespoons (36g)
all-purpose flour
Quantity
2 1/4 cups (281g)
baking soda
Quantity
1 teaspoon
fine sea salt
Quantity
1/2 teaspoon
dark brown sugar
Quantity
1 cup (200g)
packed
granulated sugar
Quantity
1/2 cup (100g)
large eggs, room temperature
Quantity
2
pure vanilla extract
Quantity
2 teaspoons
bittersweet chocolate
Quantity
8 ounces (227g)
roughly chopped into chunks
flaky sea salt (optional)
Quantity
for finishing
| Ingredient | Quantity |
|---|---|
| unsalted butter | 1 cup (227g) |
| white miso paste | 2 tablespoons (36g) |
| all-purpose flour | 2 1/4 cups (281g) |
| baking soda | 1 teaspoon |
| fine sea salt | 1/2 teaspoon |
| dark brown sugarpacked | 1 cup (200g) |
| granulated sugar | 1/2 cup (100g) |
| large eggs, room temperature | 2 |
| pure vanilla extract | 2 teaspoons |
| bittersweet chocolateroughly chopped into chunks | 8 ounces (227g) |
| flaky sea salt (optional) | for finishing |
Equipment Needed
- •Light-colored saucepan or skillet for browning butter
- •Heatproof mixing bowl
- •Rubber spatula
- •2-tablespoon cookie scoop or measuring spoon
- •Rimmed baking sheets
- •Parchment paper
- •Wire cooling rack
Instructions
- 1
Brown the butter
Cut the butter into tablespoon-sized pieces and place in a light-colored saucepan or skillet. The light color matters: you need to see the milk solids changing. Set over medium heat and let the butter melt completely, then continue cooking. It will foam vigorously, obscuring your view. Swirl the pan occasionally and watch. After four to six minutes, the foam will subside and you'll see golden-brown specks settling at the bottom. The kitchen will smell of toasting hazelnuts. Remove from heat immediately when the solids turn the color of a hazelnut shell. Pour into a heatproof bowl, scraping every precious brown bit from the pan.
Brown butter goes from perfect to burnt in seconds. Stay at the stove and trust your nose. When it smells nutty, it's ready. When it smells burnt, you've gone too far. - 2
Bloom the miso
While the butter is still warm (not hot), add the miso paste directly to the bowl. Whisk vigorously until the miso dissolves completely into the butter. This is important: miso clumps stubbornly in cool mixtures. The warmth helps it integrate, distributing that umami throughout every bite. Set aside to cool to room temperature, about 20 minutes. You can speed this by placing the bowl in an ice bath, stirring occasionally.
- 3
Prepare dry ingredients
In a medium bowl, whisk together the flour, baking soda, and fine sea salt. Note the reduced salt: miso brings its own salinity. Set aside.
- 4
Combine wet ingredients
Add both sugars to the cooled brown butter mixture. Whisk until smooth and slightly thickened, about one minute. The brown sugar should dissolve into the fat, creating a glossy slurry. Add the eggs one at a time, whisking well after each addition. The mixture will look broken at first, then come together into something resembling caramel sauce. Whisk in the vanilla.
Room temperature eggs are essential here. Cold eggs will cause the brown butter to seize into solid chunks, making proper mixing nearly impossible. - 5
Build the dough
Add the flour mixture to the wet ingredients in two additions, folding with a rubber spatula until just combined. Streaks of flour should still be visible when you add the chocolate chunks. Fold until the chocolate is evenly distributed and no dry flour remains. The dough will be soft and slightly sticky. This is correct.
- 6
Rest the dough
Press plastic wrap directly onto the surface of the dough and refrigerate for at least one hour, preferably overnight. This rest is not optional. The flour hydrates fully, the sugars dissolve, and the miso's flavor deepens and mellows. Cookies baked immediately spread too thin and taste one-dimensional. Patience transforms them.
The dough can rest for up to 72 hours. Each day improves the complexity of flavor. If you're planning holiday baking, make the dough three days before you need the cookies. - 7
Portion the cookies
Remove dough from refrigerator. Preheat oven to 375°F (190°C) and line baking sheets with parchment paper. Scoop rounded portions of dough, about 2 tablespoons each, and roll into rough balls. Place on prepared sheets with 3 inches between each cookie. They spread considerably. For thick, bakery-style cookies, refrigerate the portioned dough balls for 15 minutes before baking.
- 8
Bake until set at edges
Bake for 12 to 14 minutes, rotating the pan halfway through. The cookies are ready when the edges are golden and set but the centers still look slightly underdone and puffy. They'll appear almost too soft. Trust this. The centers continue cooking on the hot pan after you remove them from the oven. The surface will crackle and the chocolate will pool into dark, glossy puddles.
- 9
Finish and cool
The moment the cookies emerge from the oven, sprinkle each with a pinch of flaky sea salt. The crystals will adhere to the warm surface and catch the light when cooled. Let cookies rest on the baking sheet for 5 minutes to set, then transfer to a wire rack. Resist eating them for at least 10 more minutes. The chocolate needs time to firm slightly, and the flavors need a moment to collect themselves.
Chef Tips
- •Seek out white miso (shiro miso) from a Japanese grocery or well-stocked supermarket. It's the mildest variety, sweet and subtle. Red miso or barley miso will overpower the cookie with funk. Look for brands that list only soybeans, rice, salt, and koji. Avoid those with added alcohol or preservatives.
- •Chocolate chips contain stabilizers that prevent proper melting. Buy a good bar of bittersweet chocolate (60-70% cacao) and chop it roughly with a serrated knife. The irregular shards create those coveted pools and puddles that chips never achieve. Some pieces will be large, others will shatter into flecks. This is exactly what you want.
- •These cookies ship beautifully. Layer them between sheets of parchment paper in a sturdy tin. They'll travel across the country and arrive intact, which makes them ideal for holiday gift boxes. Include a card explaining the miso: recipients always ask.
- •Stored in an airtight container at room temperature, these cookies keep well for five days. They soften slightly after the first day, losing some of their crisp edge but gaining chewiness. Some prefer them this way. For longer storage, freeze the portioned dough balls and bake directly from frozen, adding two minutes to the baking time.
Advance Preparation
- •Dough must rest at least 1 hour and improves dramatically after 24-72 hours refrigerated. Plan accordingly for holiday baking.
- •Portioned dough balls freeze beautifully for up to 2 months. Arrange on a parchment-lined sheet, freeze until solid, then transfer to a freezer bag. Bake directly from frozen when unexpected guests arrive.
- •Baked cookies can be frozen for up to 1 month. Thaw at room temperature for 30 minutes before serving.
Frequently Asked Questions
Nutrition Information
1 serving (about 10g)
Where cooking meets culture.
Culinary mentorship, cultural storytelling, and the editorial depth that makes cooking meaningful.
Explore Culinary Advisor